Cutting and Crafting
Customize Badge Reel with UV resin and a Cricut
Customize a badge reel using a Cricut machine and some resin, acrylic shapes, , glitter and vinyl!
Badge reels are small items that contain a retractable cord for displaying ID cards, for example. This project consists of adding acrylic shapes to these badge reels to personalize them.
Supplies needed
- Bagde reels
- Acrylic blanks
- UV resin
- Glitter
- Silicon Brushes
- UV lamp
- vinyl
- Transfer tape
- Gloves
First of all, take the acrylic blanks and remove the white coating on them. A tip when working with acrylic is to leave the film on the back of the blank to protect it from debris and scratches.
There are two options for customizing acrylic blanks, one by adding just glitter with UV resin, and the other by also applying a vinyl decal after adding the glitter. Here’s the process for the second option, creating a custom badge reel with glitter and vinyl. Find on BGArtdesigner.com awesome designs at the best prices to customize your badge reels!
Most importantly, to start the project, it is necessary to wear gloves to protect the hands from the UV resin. Also, to work with UV resin it is advisable to wear a mask, at least an n95 mask, but ideally you should get a respirator in case you work with it constantly.
After that, it’s time to mix the UV resin with the glitter. Start by pouring some UV resin into a medicine cup, then pour some glitter into the cup to mix it up. The result this way is better than putting the UV resin on the acrylic first and then sprinkling the glitter on top. Because we can create the perfect consistency.
To add the Mix to the acrylic as a recommendation use some silicone brushes. once you are done with them, you can put the brushes under the UV lamp and easily peel off the UV resin, this way we are not creating a lot of waste.
Adding resin to the acrylic
Add the mixture and make sure to cover the entire surface by spreading the UV resin to the edges. Next, take the UV lamp, put the acrylic with the UV resin under it and cure it for two 60 second rounds. You can also use sunlight for this step, but it will be a longer process.
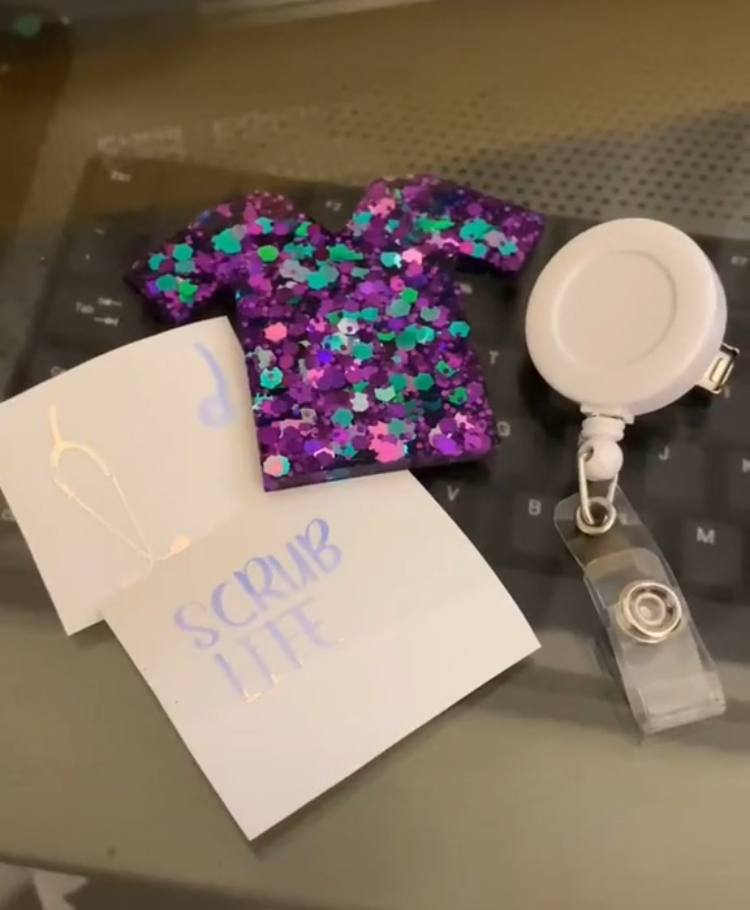
The final step, is to add some vinyl to the acrylic, first measure the blanks and create the decal in your design software of choice, cut it out and weed it. Get some transfer tape and carefully place it on the acrylic.
After that, add a layer of UV resin directly on top. Cover the entire surface of the vinyl, but keep in mind it doesn’t need to be super thick coat. Cure the acrylic for 60 seconds and use baby wipes to clean the surface if UV resin residue remains. Finally, adhere the acrylic to the badge reel with some of strong silicone!
And that’s it, get a custom badge reel using resin and a Cricut! Let me know your comments below.