Cutting and Crafting
Cricut AutoPress. Projects, Tips and tricks

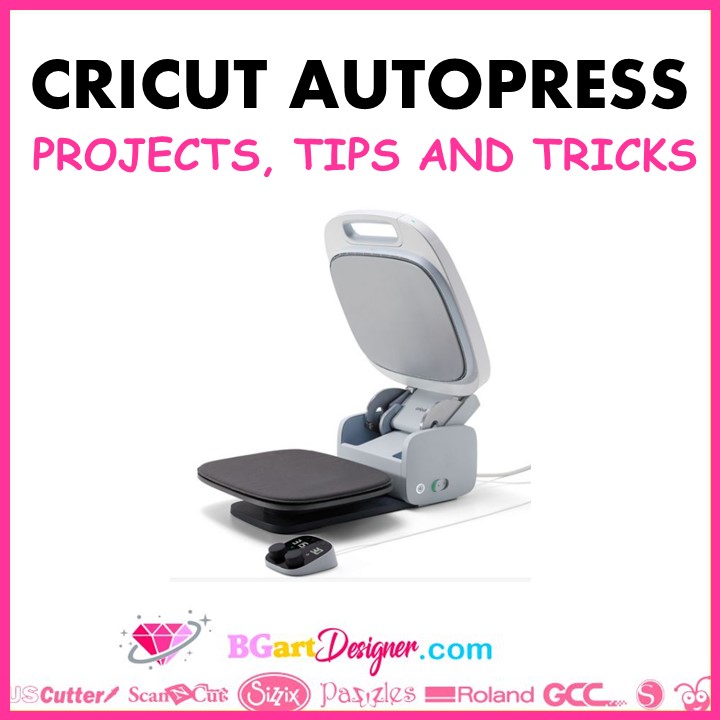
The AutoPress is for those who want to do more in less time. If the amount of projects to do is huge, this press is definitely for you. With the AutoPress you only need to make one press for any given project, and it’s possible to prepare another blank while it’s pressing. Here are some projects easy to make with the Cricut AutoPress, and some tips and tricks for doing so! check it out.
With the Cricut AutoPress you can get more done in the time you have!
Making a T-shirt with glitter iron-on vinyl
First, take a cotton t-shirt and select the design you are going to use to cut it on the iron-on vinyl, you can find some wonderful designs at BGARTDESIGNER. Preheat the t-shirt in the Cricut AutoPress to remove any moisture from it. Fold it in half so to get a center crease to line the design up. Turn the heat plate down for 5 seconds, for that open the heat press manually or make a preset especially for preheating.
After that, align the design on the t-shirt using the crease as a line guide. So to press the shirt, select the temperature and time, and wait until the heat plate heats up. It will indicate that it is finished with a beep and the temperature icon turning green. Finally, pull down the heat plate, and then just wait for it to open; the controller will beep.
When the Cricut AutoPress opens it leaves enough room to work without danger of burning yourself, that it’s wonderful!
With the Cricut AutoPress we don’t have to press the back of the t-shirt, as we do with the easy press. Once the t-shirt is put in the press, just wait for it to open, without worrying about the pressure. While it’s in the pressign process you can be preparing another project! Remember that the glitter iron-on is a cool peel vinyl; so wait until it is cool before peeling it off.
Making baby bodysuits with infusible ink
The AutoPress is perfect for use on sublimation projects because of the way the heat plate lowers directly onto the project to automatically apply the right amount of pressure; which means that there is less chance of movement and ghosting. So with the AutoPress it is possible to get good consistent pressure; which is what is really needed for a beautiful infusible ink transfer!
Certainly, the size of the heat press allows making two projects at once. So take the blanks, in this case, are baby bodysuits. For this project using infusible ink, it is necessary to put some card stock inside the bodysuits or make your own pressing pads.
To do this just take sheets of Teflon, felt, or high-density foam, and a stapler. So wrap the foam with the Teflon sheet. Make sure you leave an inch around all the foam to staple all around the outside. Finally, trim off the excess. Feel free to make it any size to use for any project. Keep in mind that on the top of the pad you need to put some butter paper.
The infusible ink on polyester is preset number 4. So select the preset and wait until it heats up to start pressing. When it’s done the heat icon will turn green and also will beep. Put the infusible ink designs with a piece of butcher paper on top to protect the heat plate. Finally, give it a little time to cool down before removing the design because at that high temperature it’s still sublimating.
Making a layered iron-on vinyl pillow
Layered projects are also a good option for using the Cricut AutoPress, here are some tips and tricks for that! So let’s make a pillow with iron-on vinyl as the first layer and then glitter iron-on vinyl as the second layer. Whenever you make a pillow or anything that has sliders or anything, check that the design will be in the correct position accordingly, to avoid the design being upside down.
Firstly, preheat the pillow blank for five seconds. After that, place the first layer, and heat it for the minimum time necessary for the vinyl to adhere, so 15 seconds is enough. Remember that iron-on vinyl peels off cool, so after peeling off that layer, place the second layer of glitter iron-on vinyl; which has its own settings.
It is very important to protect the entire vinyl before pressing it, place the sheet you removed from the first layer over the bare vinyl, and you can put some heat transfer tape on it to hold it in place. Also, put some butcher paper to protect the entire vinyl. The glitter iron-on vinyl is also cool peel; so wait to remove the backing from the vinyl.
Wood sign with iron-on vinyl
With the Cricut AutoPress you can put materials up to two inches thick; so you can make wood signs without any problem using iron-on vinyl. For that. just place it in the press and move down the plate. The Cricut AutoPress will apply the exact amount of pressure that the wood needs.
Don’t worry if the sign is too big for the plate surface to cover, just press first one half and then the other, and very easily you will have a beautiful wooden sign!
These projects ideas and tips and tricks for using the Cricut AutoPress are just a few! The Cricut AutoPress is really super versatile, don’t you think? Leave me your comments below
