Cutting and Crafting
Sublimation Phone case tutorial

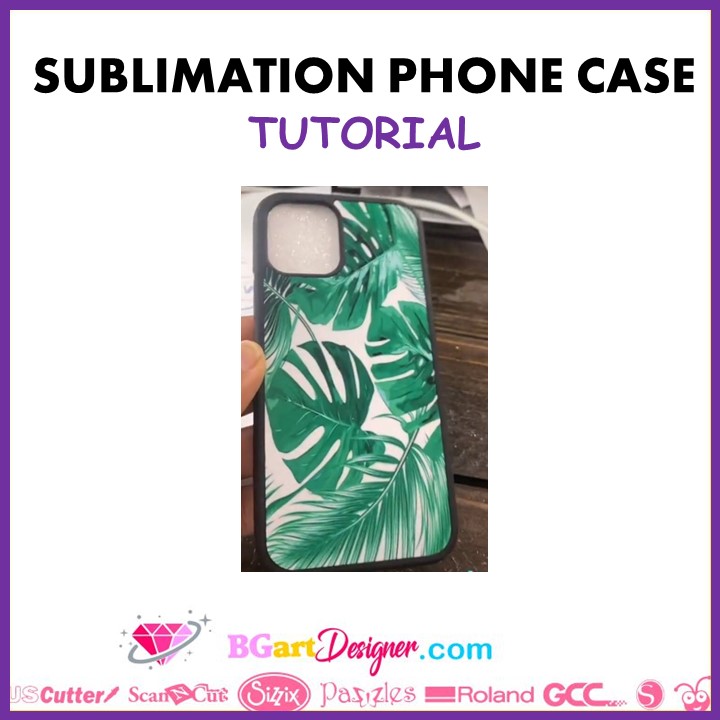
Phone case sublimation tutorial, can be customized for anyone using patterns, custom designs or even photos!
This phone case sublimation tutorial is a super handy project worth trying. Sublimation can be used in multiple ways, and what better way to take advantage of that! but remember it requires you to use a special blank. Get your materials and start the project! Take a look to other projects ideas HERE
Supplies needed
- Sublimation printer
- Sublimation phone cases
- Sublimation paper
- Cricut easy press
Remember you can’t use normal ink for this project; it is necessary to use sublimation ink. Also, it is possible to transform a normal printer into a sublimation printer by changing the ink; but if you do that there is no way to transform the printer back into a normal printer. Once you use the sublimation ink, it will become a sublimation printer. There are two different ways to print the design for sublimation.
Using Sawgrass design studio
This is the software that goes with the Sawgrass printer, so here we can create the template to print. Go to the blank projects on the top left side of the software. Select “mobile device accessories”; and there find the mobile template. Next, go to the gallery and then upload the image.
Size the image by going to scale in the settings on the right; or by using the corners to drag in or out. In the print settings, make sure to mirror the image. Select the product to use on the material in this case, it is metal. Also set up the paper to use.
For the color and quality set it to “high” quality and “photographic”. Then go ahead and hit print. When comes out the print manager tab, you will see how much space remains on the paper. If it is too much, add other images to print and do not waste the paper. You can add another phone case template. To do this click on the screen, without printing.
Next, click on “start new” in the top middle of settings. It will leave you with the template, insert the other design or photo, size and apply the same settings to it as well. You will see that when the print manager opens you will have both templates on the paper.
Using Cricut design space
Upload the image to Cricut design space. Measure the phone case, and size the image accordingly. Leave it a little bigger just to make sure you can align it well with the case later. It is not necessary to find a phone case template to cut out the design; because the phone case will outline the design itself. Only the parts that have the sublimation surface will have the image attached.
The last step is to send it to the printer, as usual, not forgetting to mirror it. Cut out the design with a pair of scissors. When printing the image it may not look very vibrant, but the color will take on its true color once you heat press it; don’t worry.
Sublimating the phone case
First of all, set the Cricut easy press to 400 degrees and 60 seconds. Bring the phone case and take the piece to sublimate it, this type of case has two parts; the whole case, and a metal piece that has the sublimation surface. Sublimate on the white part, it has a protective film; make sure you remove it. Don’t leave any fingerprints on the surface, clean it before sublimating.
After that, place the metal piece to be sublimated over the printed design. Center it on the image and put heat-resistant tape on it to keep it from moving. The white side should be face down. For this project it is necessary to use a sublimation case, you can’t just use any phone case.
Take the heat-protective mat, and place a piece of cardstock over it; to protect the mat in case there is any bleeding. Then place a piece of butcher paper. Put the blank on the butcher paper, with the sublimation paper side facing up. Place another piece of butcher paper on top, to protect the mat and the press.
Don’t use the same butcher paper or cardstock twice; because the part of the design that bleeds on it can transfer to the next project and ruin it.
Place the press on top, making sure to cover the entire surface. Make a light pressure with zero movements, otherwise, the design will not transfer correctly. Remove the tape carefully, because it will be very hot. You will see that it has a very nice and vibrant color.
Now it’s time to assemble. So on the back of the case there is an adhesive strip, remove it. Next, simply insert the small metal piece into it! This way you will have a spectacular phone case, with this sublimation tutorial!
