Cutting and Crafting
Make a Paper-cut light box with Cricut
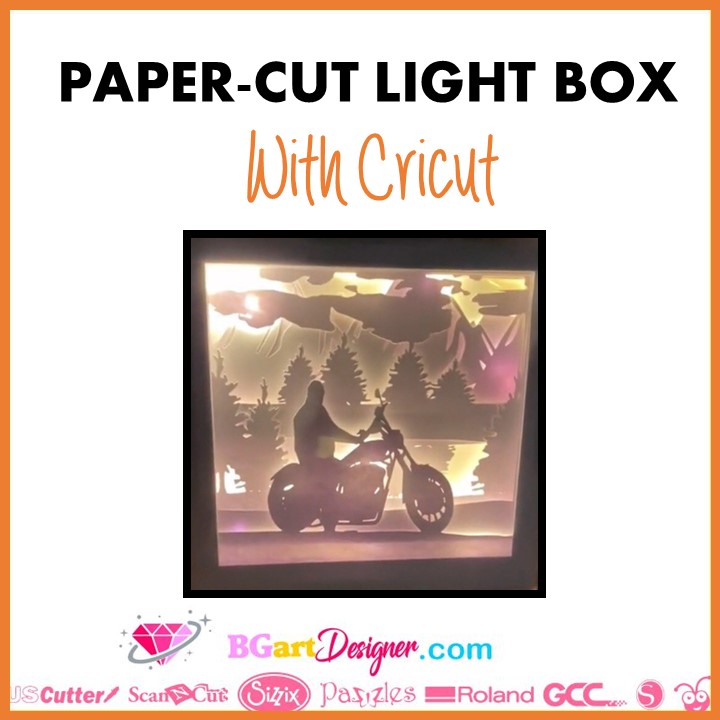
Make a paper-cut light box with this step-by-step tutorial! Get some paper, a Cricut and LED lights!
There are so many ideas for making projects using a shadow box, such as a paper flower shadow box and in this case a paper cut light shadow box! Learn how to do it by following this tutorial.
Supplies Needed
Upload an SVG file to Cricut design Space, select a design that has several layers to create the paper cut look. Find some cute designs at BGARTDESIGNER. For each layer make a rectangle border. That is to create a paper-cut effect. The idea is paste the foam board around those edges so the LED light can pass through without interference.
Cut out each layer in different colors to overlap them on the shadow box. Remember to size the shadow box to use that measurement in the design to make sure it fits. As a recommendation change the color of each piece in Cricut design space to better visualize the layers. That will also for the software to put each layer in separate mats if desired.
Another option is to cut each layer in the same color if it is a landscape design so that it stands out with the LED lights. After that, send it to cut. Select the material the “80 lb (216 gsm) card stock” will cut well the cardstock which is linked in the supplies; in case of using another one make sure to select the correct material in the software.
Assembling the paper-cut light box
To assemble the project, take the foam board and cut it with an exacto knife into thin lines. Cut them according to the size of the design and the shadow box. Glue the foam board around the edges of the design to create the paper-cut effect.
Arrange the layers. The recommendation is to make the border sized to fit the edge of the shadow box to create a better effect. Finally glue the LED lights into the backing of the shadow box. Drill a small hole in one of the edges of the shadow box to connect the LED lights to the ends of the cable adapter, so you can plug it in.
Insert the backing into the shadow box and secure it and that is it!