Cutting and Crafting
DIY lollipop holder with Cricut
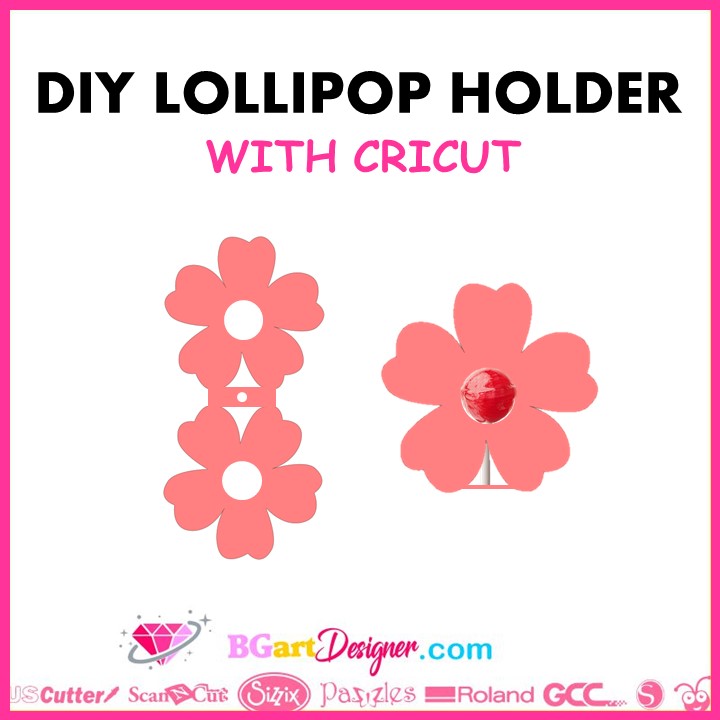
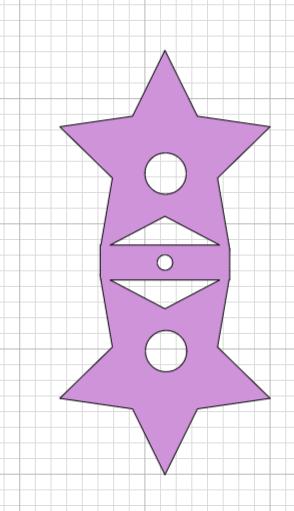
How to make lollipop holders, and the step-by-step process to create the lollipop holder at Cricut design space. The lollipops holders are made with shapes, a hole in the center of both, and a base with a small hole in the center as well.
Certainly it is possible to create the lollipop holder it in many shapes using a Cricut. It can be a star holder, a heart, or even a letter. But keep in mind that we must add a hole in the center of the shape to put the lollipop.
In addition, it is possible to add small details to the holder using stickers with the print and cut technique, using the Cricut writing function, or using HTV; it only takes a couple of seconds to iron it onto the paper with the Cricut EasyPress mini.
Designing the Lollipop holder
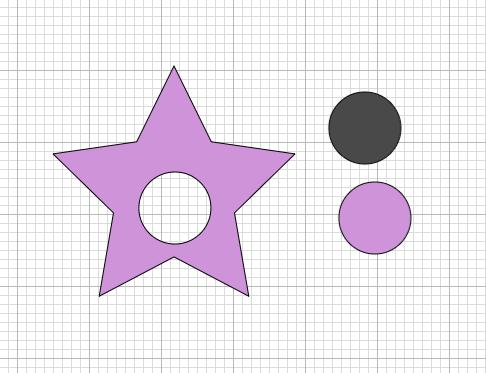
Select the shape in Cricut design space, and change its color to a soft one, so you can better visualize the design. Insert a circle to make the hole about 1 inch. Actually, it will depend on the lollipop you have so it is necessary to make test cuts to see what size is best.
Also, the size of the lollipop holder will depend on the size of the cardstock available and how many you want to cut on a sheet.
Two 4,5-inch lollipop holders will fit on a 12-by-12 sheet of cardstock.
Place the circle over the shape, select both elements and click align and center; or place it where it will have room to add a decal or detail later.
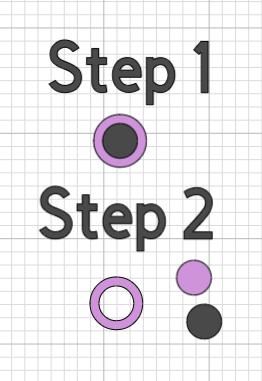
Next, with the two elements selected, we go to the bottom right corner and click on “slice”, in this case do not delete the remains of the circle to use it later in case the circle is too big, so we can modify it.
Tips for assembling the design
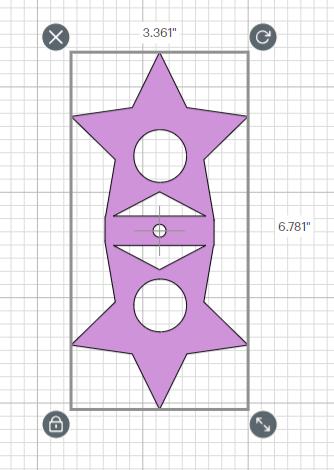
Now let’s add the base of the rectangle. Bring a square to the canvas, and size it horizontally according to the size of the shape. Place it so that it is touching the shape. Insert a circle of about 0.25 inches and place it on top of the square, select both elements, and cut them out. Remove the rest of the pieces.
Duplicate the shape with the hole and flip it vertically. Place it so that it touches the tips of the top shape. Make sure the rectangle also touches both shapes. It is important that it has several points of contact so that it is sturdy and not too delicate for the kids. The small circle and the hole must be aligned because the lollipop will pass through them.

Do not place the shapes just overlapping because that will make the lollipop stand less stable, make sure they overlap enough.
Once you have all the elements in place, select all and click on align to center. After that, go to the bottom right corner and select “weld”. So send it to be cut. Finally, glue the lollipop and if wanted; put some double-sided adhesive tape on the inside covers to stick the shapes a little bit.
If the hole is too big, take the rest of the circle from the first slice and insert another circle. Place it over the remaining sliced circle and make it as small as needed. Align it in the middle; Select both circles and click on “slice”. Delete the rest and place the type of hoop you will get over the shape. Duplicate it to put it on both shapes; and finally select the whole piece and click on “weld”.
This project is great for kids parties, or celebrations, plus don’t forget that you can find amazing designs with great prices at bgartdesigner.com!