Cutting and Crafting
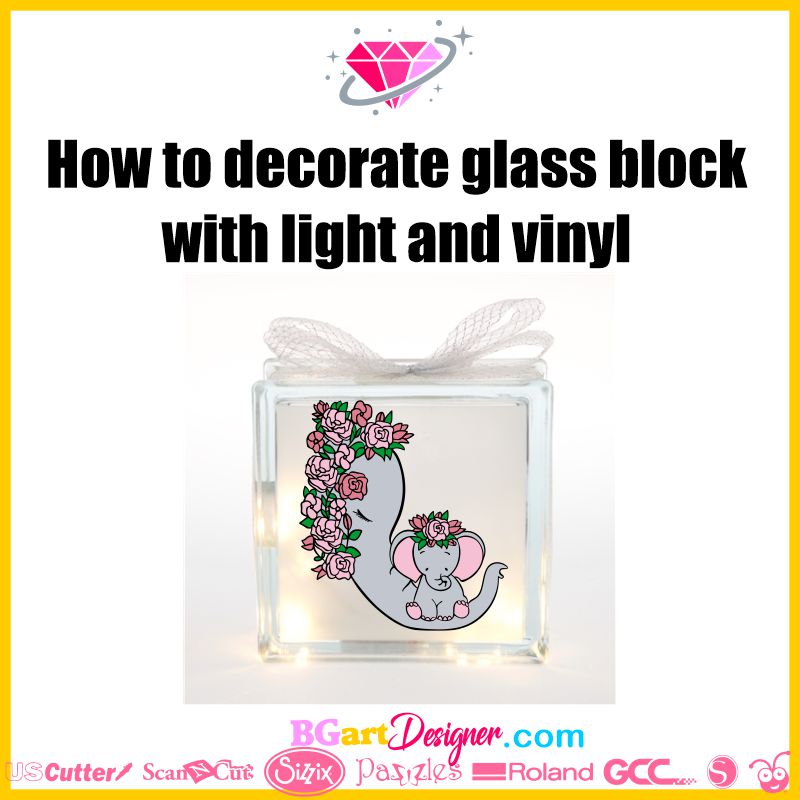
How to decorate glass block with light and vinyl

Make a stunning glass block using light, vinyl and glitter! This project will serve as a decorating light for the holidays, for kids, a baby shower and more! In addition, it is possible to do it in various styles! It will depend on which sides you cover with glitter.
Supplies needed
- Glass block
- Digital Design
- Fine glitter
- Gloss polycrylic
- Lights
- Permanent vinyl
Preparing the glass block
First of all, get a glass block, it is possible to find it in any craft store. In case you want to add some decal on it, measure the block and get a nice design at the best price HERE, give it the size and send it to be cut in some permanent vinyl. Add the decal to the block at the end of the process.
Secondly, stand up the glass block, which should have a hole in the top. Take the polycrylic and pour some into the glass block. Next, start moving the block so that the polycrylic covers the entire bottom first. Then put some more polycrylic on the sides and repeat the process, covering one at a time.
Polycrylic is the best adhesive for this project.
As a recommendation, place the block so that the side that does not have polycrylic is on the bottom so that the top side drops the excess that it has. Coat the entire block and make sure there are no bubbles.
If you have trouble getting the polycrylic to move, just flip it one way, let it sit for a minute, and move it all around again. It’s easier when you move a large puddle. So in this step, it is possible to do just the front or just the sides, it is completely up to you. Next, put the block with the hole down on a piece of paper for a couple of minutes, so it can drain the excess.
Be careful not to dirty the outside of the block.
Adding light, glitter and vinyl to the glass block
Finally, it is time to add the glitter, it is recommended to use a fine glitter for better coverage. This takes a bit of glitter so make sure to have enough. The process here is the same as for making the ornaments, pouring lots of glitter, and then moving it around the block to cover it entirely. After that, remove the excess by shaking the block, and let it sit for at least 24 hours to dry completely.
Don’t try to put the lights on before it dries completely, otherwise, it will damage the glitter coating.
Now, add the decal, using the wet method. It’s better this way because we have to make sure the whole block is completely covered with glitter, and the decal would interfere with the vision if you add it first. Finally, get a line of LED lights, as they are best to distribute them inside the block. Place them inside and glue the battery to the back or inside of the block carefully.
This glass block decorated with glitter, vinyl and led light is awesome and super easy to make! leave me your comments below!
