Cutting and Crafting
How to make football cap hat box with Cricut free SVG

Make football cap hat box with a Cricut, getting a free svg!, quick and easy with some paper, and creativity!
In this tutorial there are some tips on how to make these amazing football cap hat box with a Cricut, also here is the SVG file for totally FREE.

First of all, cut all the pieces, for one cap hat box it is necessary to cut out:
- 6 A pieces
- 6 B pieces
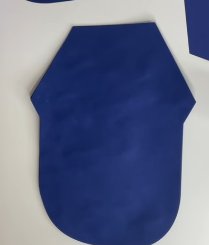
- 3 base pieces
- 1 little hexagon
- 1 big hexagon
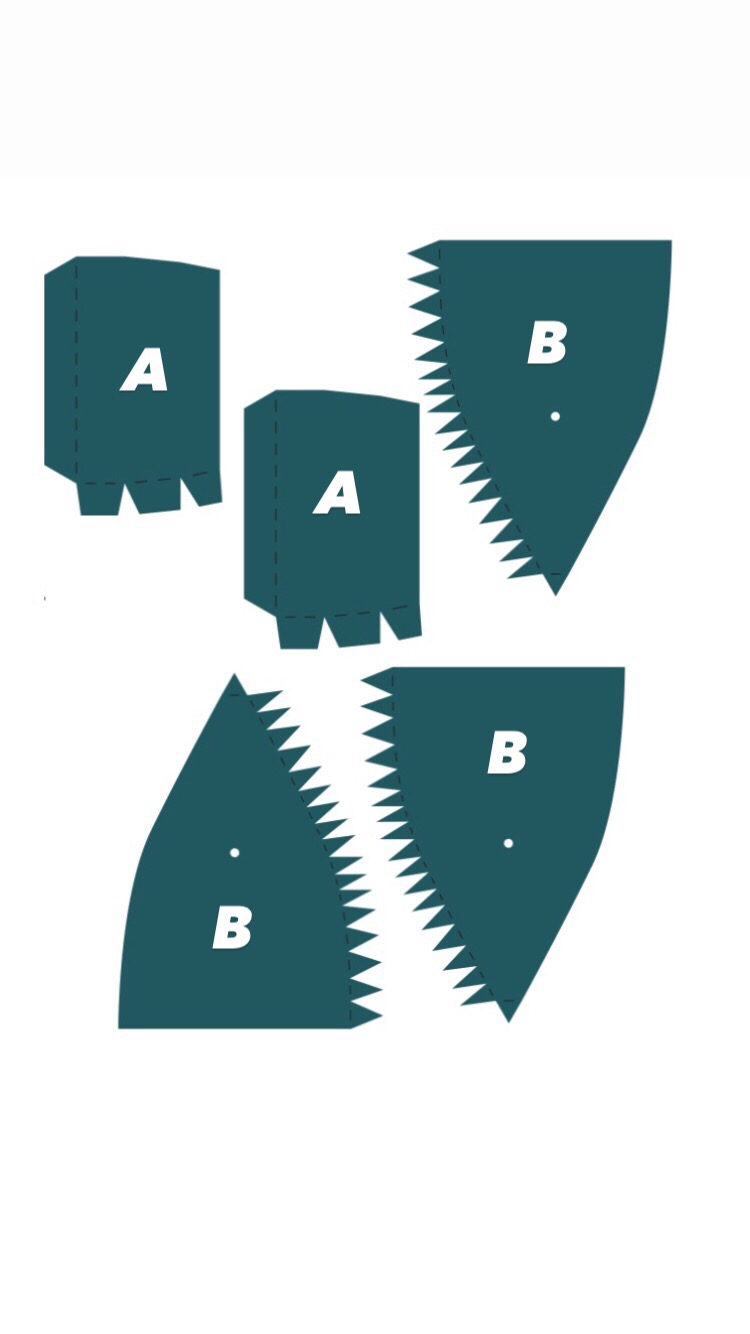
To make these football cap hat box, cut as many pieces as hat boxes are going to be made, so that when it is time to fold the pieces with score lines, they will be folded all together at once and make the process faster. First of all glue the base, so to let it dry properly, glue three layers to give a sturdier base.
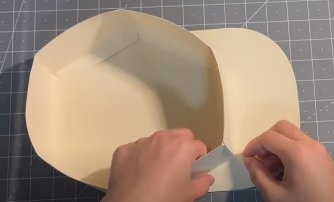
Secondly, start gluing the A pieces, putting a little glue on the stretcher tabs, or using double-sided tape. Glue these in groups of two, folding the whole part of the little tabs and putting pressure on the table, as if it was a flat paper, this way they will stick faster without struggling.
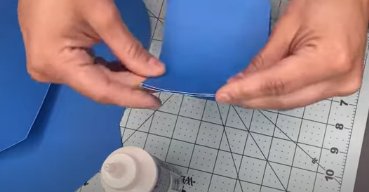
And then glue them all together. Also by pushing down and folding flat. This way it will be easier to align them well. Do the same with the B pieces that are going to be the lid of the box.
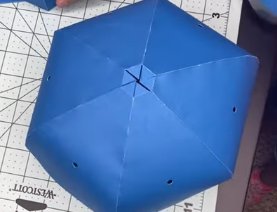
Prepare the pieces to assemble the whole cap hat box. Stick the glued A pieces to the bottom piece of the cap, adding glue to the tabs and lining them up. Press hard enough so that it sticks perfectly. Then glue the big hexagone to hide the little tabs.
Lastly add the finishing touches, cut some stickers with the Cricut as well; and the technique of printing and then cutting; extra color, glitter, whatever you want. Can also cut the pieces in different colors!
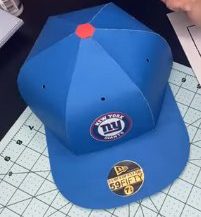
and that’s it, let your creativity fly, and leave me your comments below!
