-
×
 Birthday Queen
1 × $2.49
Birthday Queen
1 × $2.49
Cutting and Crafting
How to decorate subway tile with vinyl
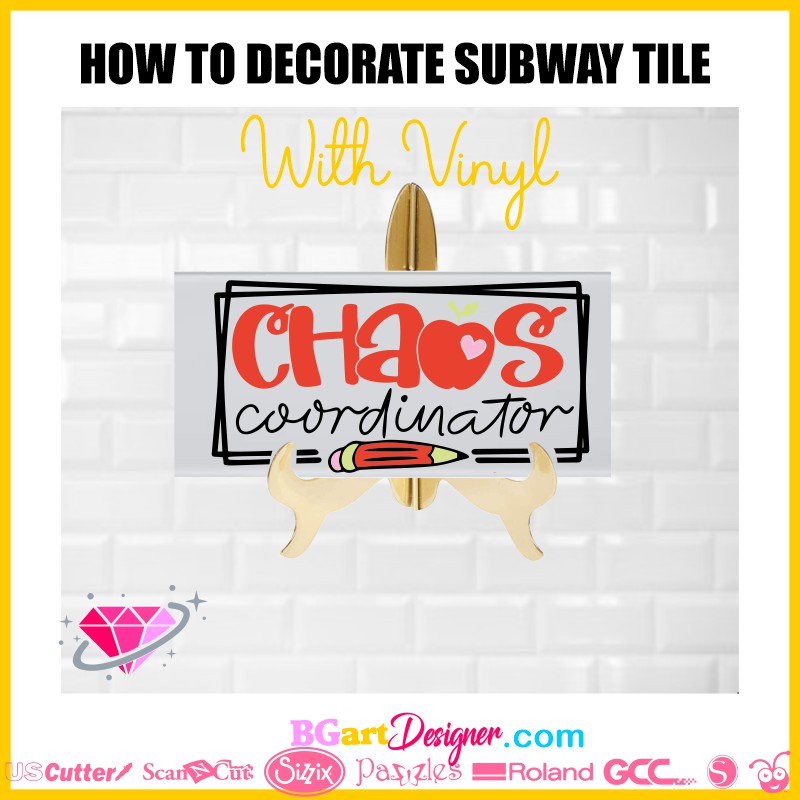
Decorate a subway tile with vinyl step by step! A super easy and fun project worth trying to sell or give as a gift!
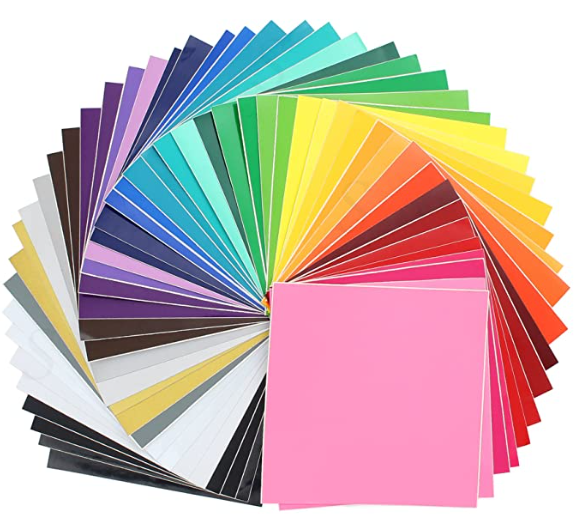
Supplies needed
A really easy and fun project to create! Decorating a tile is very fast and looks very pretty, it is possible to use several colors and different types of tiles!
Tips on Cricut Design Space
First, open Cricut design space and upload the design to put on the tile. It can be a text or a silhouette, find the best ones on bgartdesigner! Second, measure the tile and insert a rectangle in the Cricut design space a little smaller than the size of the tile.
In order to better visualize the space we are going to work with. Now, to size the design in the created template, put the design in the corner. Then, grab the double arrow and drag it to increase the design according to the template. Finally, delete the template.
One tip, if the design has many pieces and they are ungrouped, the cutting machine will cut each piece individually and it will be a mess. So it is recommended to attach the pieces together in case it is necessary to cut them on the same piece of vinyl. To do this select all the pieces that are separated, and click on ” Attach” at the bottom right.
Another tip for automatically organizing the design into different mats, for cutting in different vinyl colors, is to change the color of the pieces in Cricut design space. Group the pieces by color, and when you click “make it” the software will group each one into a mat to cut them separately.
When that occurs, it is important to configure each mat in the software with the correct material, one at a time. First, select the mat material and send it to cut. Next, place the other piece of vinyl, go back into the software to select the mat where the design is located, and finally, change the material configuration if it is different.
Recommended material settings:
- Holographic vinyl: premium vinyl holographic
- Regular vinyl: stencil vinyl

In this project it is not necessary to mirror the design, just cut it as normal.
Decorating the subway tile
First, clean the surface with a little alcohol and a paper towel after adding the decal. Make sure there are no finger marks or dust. Next, take some transfer tape and put it over the decal. Scrape over the transfer to adhere the decal properly, being careful not to tear it.
Remove the carrier sheet from the decal. When doing so, it is best to work backwards, to be sure to remove everything. Finally, place the decal on the tile, centering it. For this step it is recommended to use the wet method, check the tutorial HERE.
Now, one last trick: the overlapping of pieces! It is recommended to overlap the design after placing it on the tile. To do this, take the upper layer and place it on top of the corresponding layer using a bit of transfer tape, make sure the transfer is large enough to cover all the layers.
Place all the layers on a piece of carrier sheet to then place the entire design on top of the tile. Finally, place the entire decal on the tile!
This decorate subway tile with vinyl turns out super cute! It’s perfect for birthdays, vacations and parties. Let me know your thoughts below!