Cutting and Crafting
Deboss and emboss with Cricut debossing tool
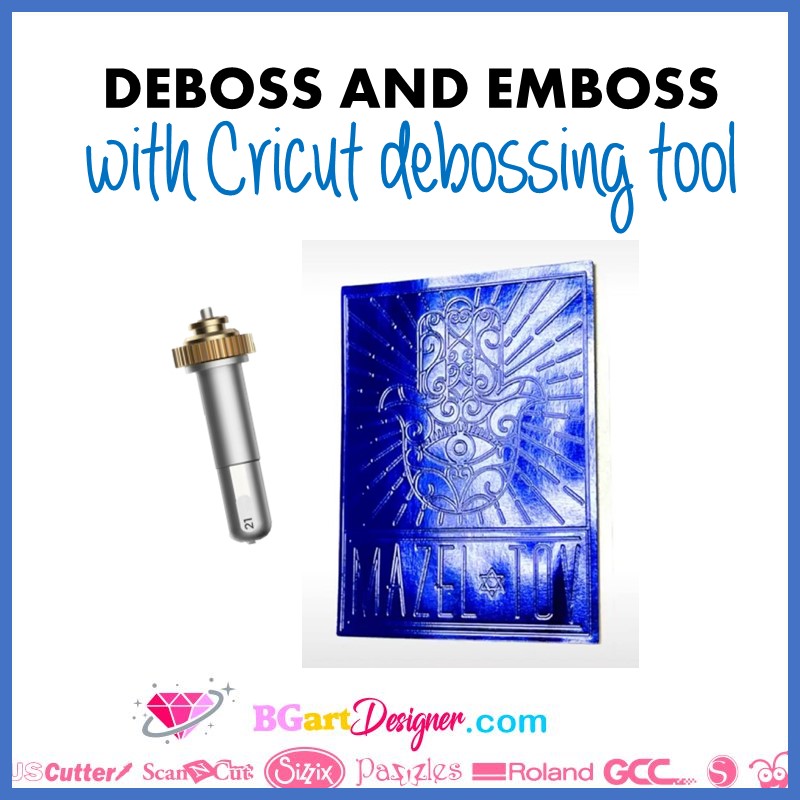
Emboss and deboss with a Cricut debossing tool. Use this method for best results.
Using a Cricut Maker or a Cricut Maker 3 it is possible to deboss or emboss using the same debossing tool but with different methods. For this it is necessary to have the embossing tool with tip 21. In addition, Cricut’s Kraft board is the best option for the method explained in this post, as it is thicker, perfect for achieving a deeper emboss or deboss.
Supplies needed
First of all, go to Cricut Design Space and click on “phrases” in the lower left corner, this will bring up many phrases for this project. On BGArtDesigner.com there are some designs that work for this, check them out!
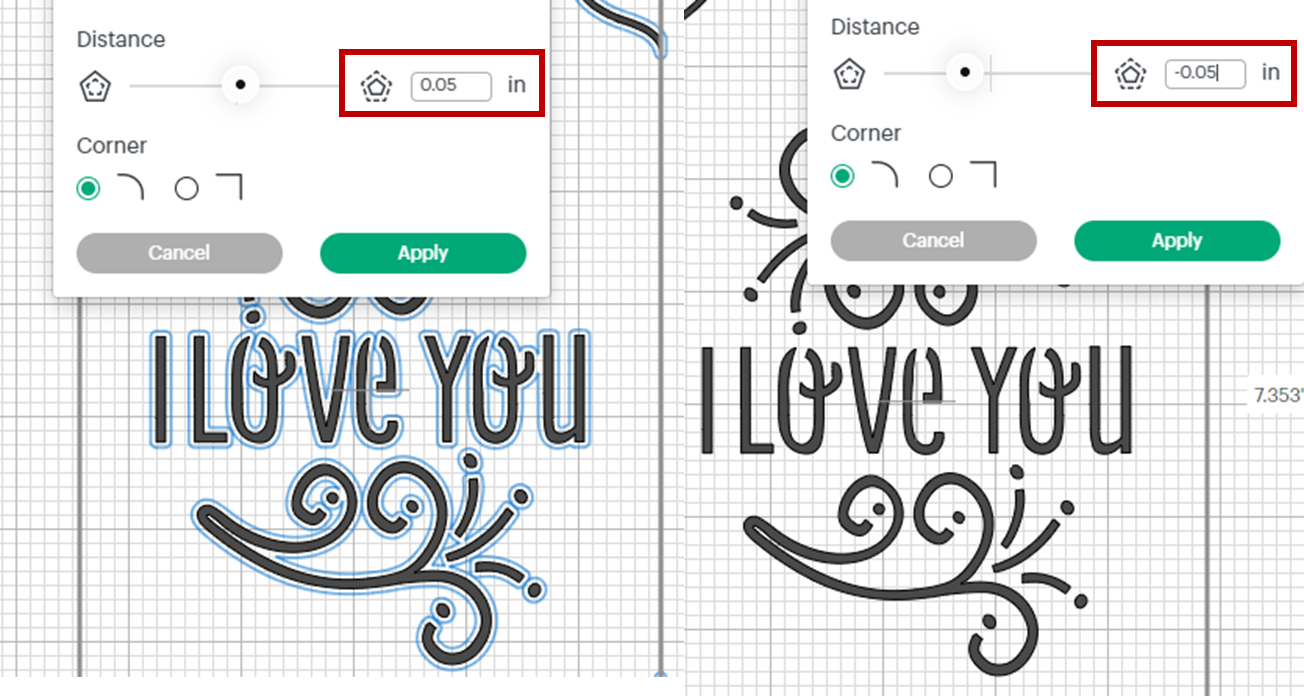
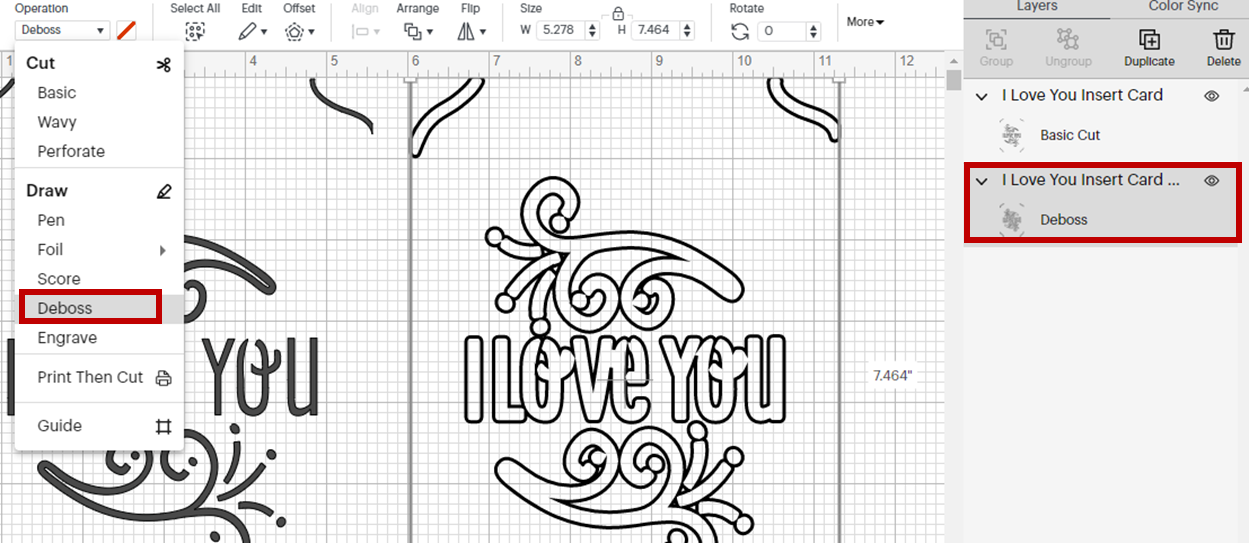
Once you have the design, create an offset for it. Go to the offset feature. For embossing, create an offset of 0.005 for the design. On the other hand, for debossing create an offset of -0.005. Leave the design as a cut image. In the layers select the offset and change it from “basic cut” to “emboss”. The offset lines are the lines that the machine will emboss or deboss.
Click on make it. Move both designs to the bottom, one block from each corner. The idea is to have the designs aligned, but you need to place the deboss design slightly to the left and the bottom line for nicer results.
Cutting kraft board to deboss
For this method it is necessary to first cut the design and then emboss it. So first click on continue being on the mat with the basic cut design. Cricut’s kraft board is perfect for this step. It creates a slightly raised platform; and then allows the machine to push down, giving a crisper deboss or emboss.
Select the material for the kraf board, and add more pressure to make sure the machine cuts it perfectly. remember to place the kraf board so that it covers the same place on the mat as it does in the cricut design space.
Deboss and emboss process with Cricut
Once the Cricut Maker has finished cutting, unload the mat. There is no other option, as normally the Cricut does the embossing first and then the cutting, but for this method we have to do it the other way around. There will only be a small difference when loading the mat again, it is not a problem.
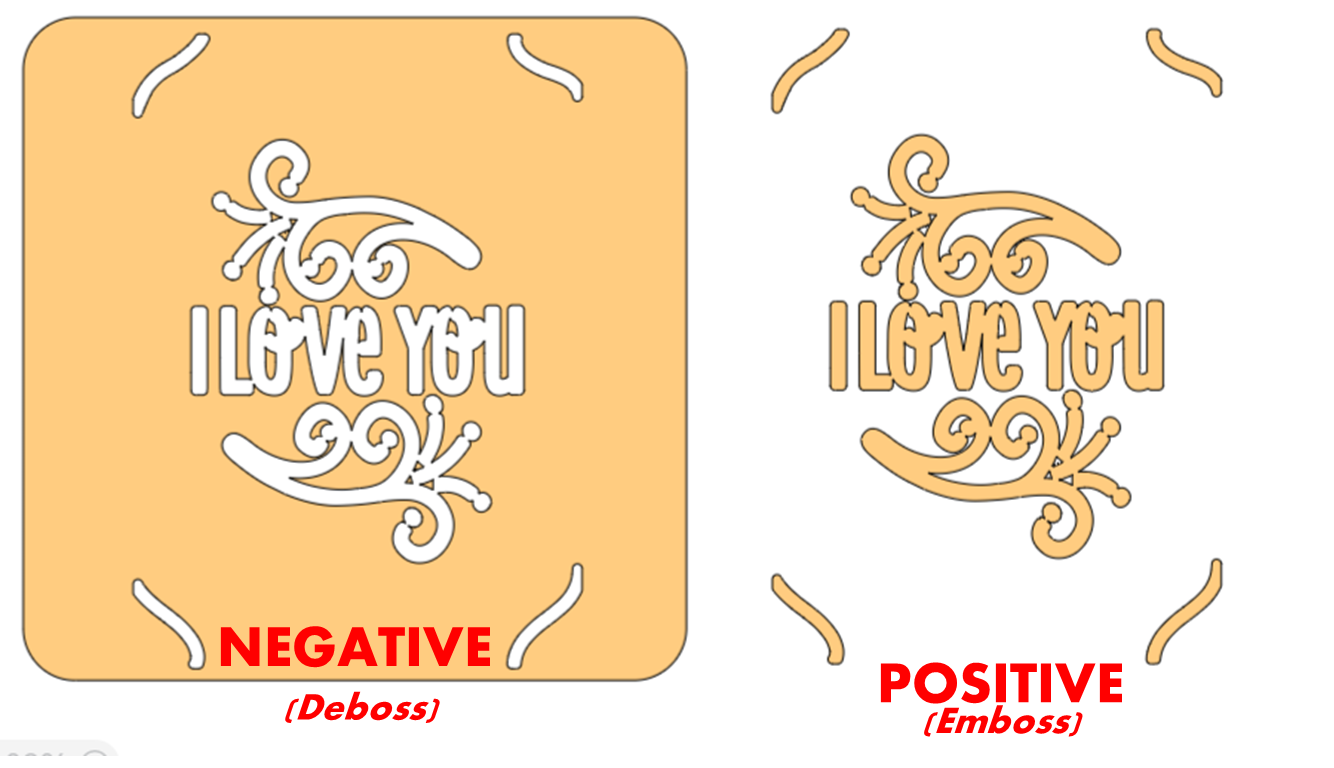
What we need to do now for debossing or embossing, is to leave the kraft cardboard cut out on the mat. For EMBOSS, remove the negative and leave the rest of the sentiment on the page (the positive portion). Make sure to take out the inside of the letters and the little bits that are left in the design. For DEBOSS remove the positive and leave the negative on the mat to create the project.
Finally, place the paper you are going to emboss or deboss on top of the kraft cardboard on the mat. try not to use a thin paper because the machine could tear the mat. Curious metal foil is a good choice for this step.
Load the embossing tool into the machine and press “go”. To remove the project, turn the mat over and remove the paper from the mat very carefully, without removing the kraft board, in case you want to reuse it. Emboss and deboss with a Cricut debossing tool creates truly beautiful projects, and using this method will make the results even better.