-
×
 Black Nurses Rock
1 × $5.99
Cutting and Crafting
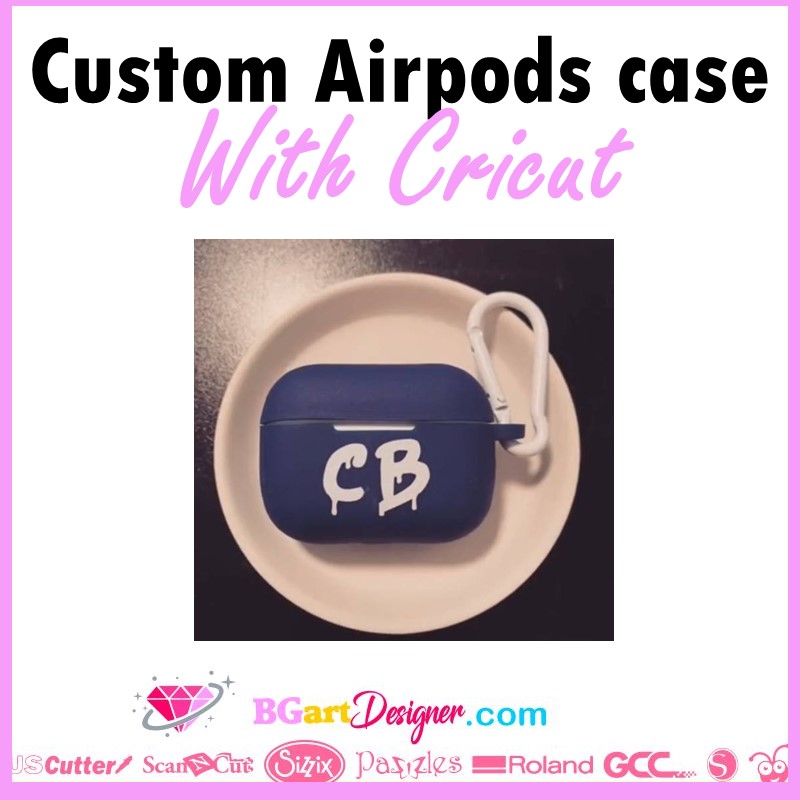
Custom Airpods case with Cricut

Custom Airpods case with a Cricut cutting machine and some vinyl scraps!
Airpods cases are all the same, a white case that can easily be confused among your friends, siblings and almost anyone. Using a Cricut cutting machine it is possible to customize the Airpods case the way we always wanted!
For this, having the cricut joy machine would come in handy, as it is small and practical. Also, the vinyl scraps that we always keep will be perfect for custom our Airpods case with a Cricut!
Supplies needed
First of all, look for a design HERE, make sure it has fine lines and, most importantly, that it is not too intricate, as the workspace is tiny. Measure the white space and size the design accordingly. Above all, remember that it is possible to download Cricut Design space on your ipad and from there work with the cricut machine and send the design to be cut.
For this project it is not necessary to mirror the design, just set the material to premium vinyl, or the vinyl you are using, and then on the Cricut Joy when the light flashes means we need to load the mat and then click on the go button.
To apply the decal, after weeding the design, of course, be sure to clean the surface. Use rubbing alcohol and a towel. Next, use transfer tape to apply the decal to the AirPods case. Using a scraper tool press down on the vinyl and make sure it adheres to the transfer tape. Scrape the decal on both sides, front and back.
Of course, it is possible to add a decal on both sides of the airpod case. But above all, make sure not to interfere with the charging space and the LED light on the front.
Weeding tip
Here’s a tip, for removing intricate designs the reverse weeding technique will make the process easier. Instead of weeding the design and then putting the transfer on, we first put the transfer on and then start weeding the design over the transfer by removing the backing sheet from the decal. That is, with the decal already cut, we place a piece of transfer paper on top. This without removing any part of the excess vinyl.
