Cutting and Crafting
How to create brush strokes for sublimation
Create some brush strokes for sublimation projects! tips and tricks to create the best brush strokes step by step!
How to create brush strokes for sublimation in silhouette studio. This tutorial will give tips on how to create those fantastic brush strokes to use on any project and be original.
Create brush strokes for sublimation
Select HERE a design or go to google and search for “Brush strokes”, select one, and copy it into silhouette studio.
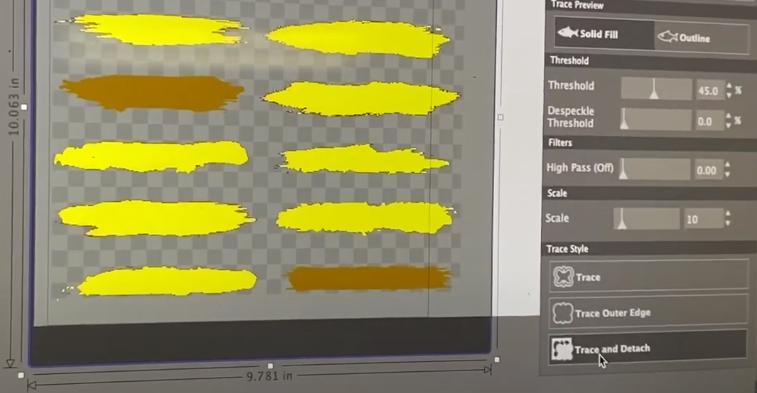
Next trace the design, select “trace and detach” to have individual pieces. Finally, delete the image from which you took the strokes so to have a free space to work with.
If the stroke has small white spaces inside it, but all that is needed is the border, simply select the brushstroke, then click on “release the compound path”; and delete the pieces inside the brushstroke that you don’t want to keep.
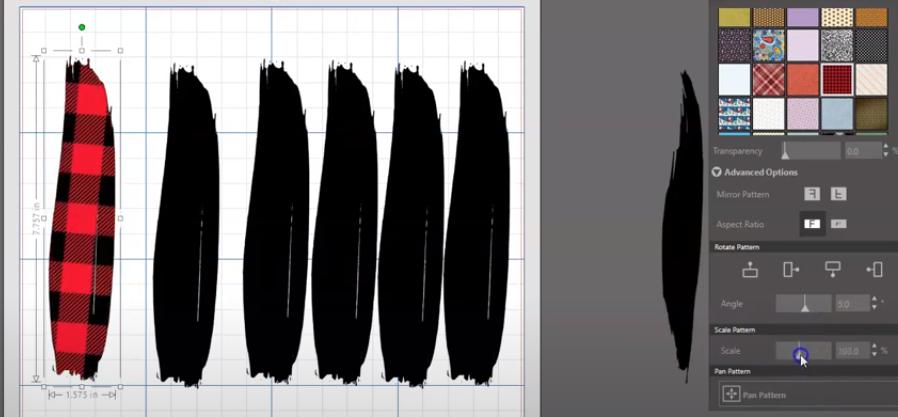
In silhouette studio there are patterns, if it is possible select from there. These patterns are more editable than the other option below, because some settings can be changed and customized. Here are some tricks for that!
- To scale the pattern, making it bigger or smaller just click on the pattern settings.
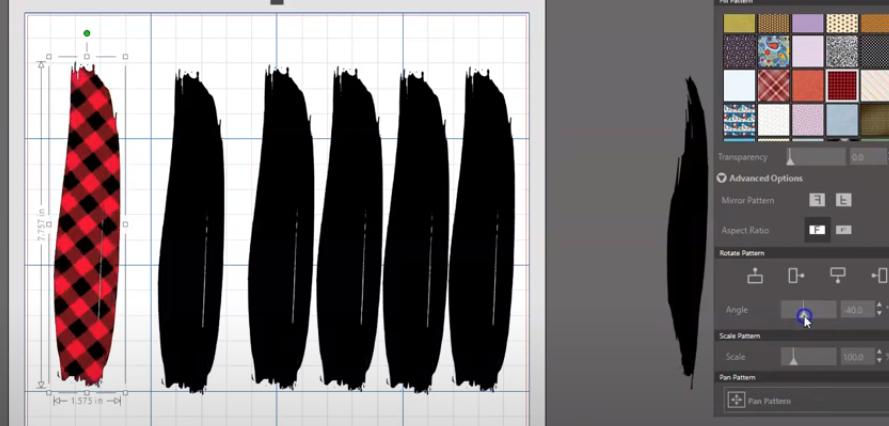
- To change the angle of the pattern go to the rotate pattern option, to create the perfect match.
Second option
The other option for selecting some patterns is to Google a pattern and copy it into silhouette studio.
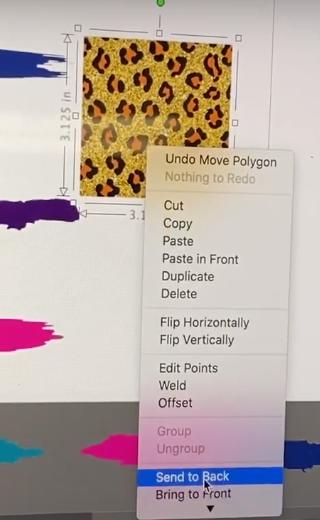
Now Select the pattern image and send it to the back so that the brushstroke will show well on it. Go to the toolbar on the right and select the modification panel.
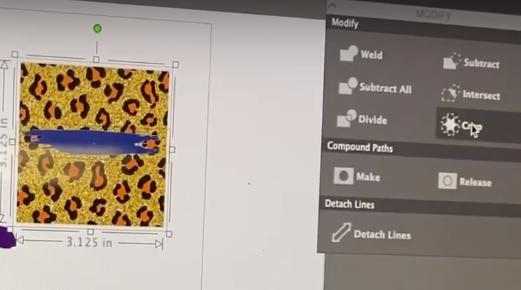
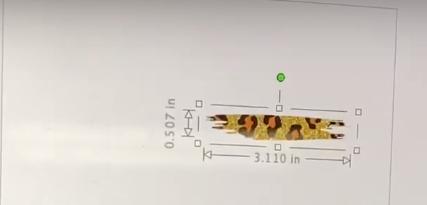
Then size the brushstroke according to the pattern on the image and place it well over the image, where the best part of the design is. Finally, highlight over both and hit “crop”, and it will crop into the design.
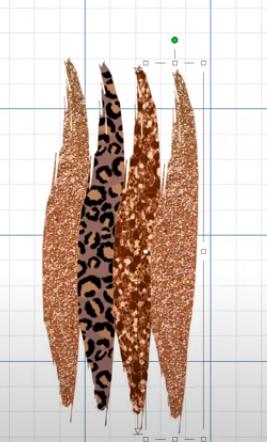
In addition to create a design with brush strokes only, select different patterns and overlap each one, as in the image. Following a color scheme to make the design look good.
Make sure that the design fits well with the chosen background color by simply adding a rectangle with the color of the surface you will be sublimating and send it to the back to place the design on top of it.

This way you can see how it will look on that color, and change what you want without wasting time. In the brushstroke is possible also to put a name or a word, it’s up to you!
And that’s all the tutorial on how to create brush strokes for sublimation, this kind of design can is useful in a lot of projects! let me know your comments below.