Cutting and Crafting
Cricut AutoPress guide. Review, questions & answers
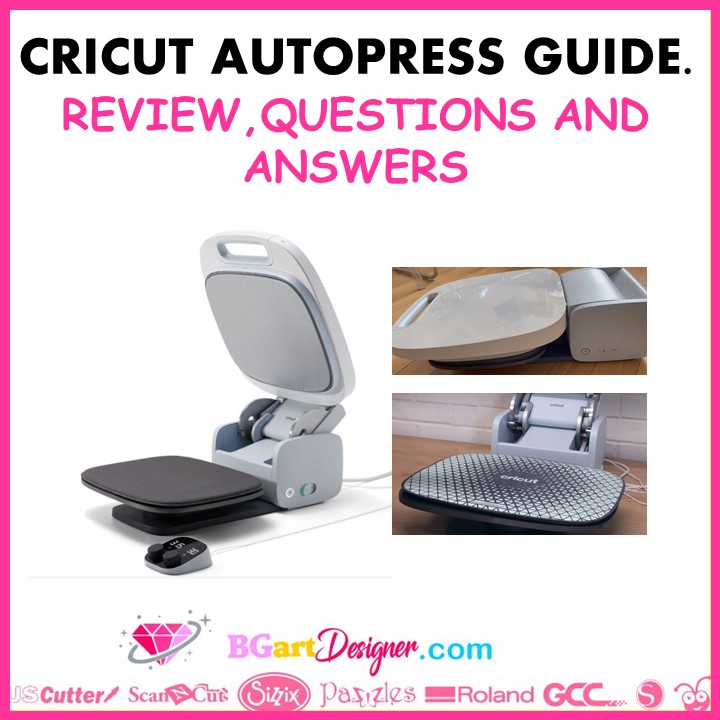
This post is about a Cricut AutoPress review guide with answers to questions. Here it is possible to find detailed information about this brand new heat press, the description of its features and the necessary configurations to make. Here is a review with answers to questions. If you want to answer the question shoud i buy it? How it works? What features differentiate it from other presses? check out this post!
The Cricut AutoPress is a fully functional professional grade heat press and was designed to make projects in large quantities, getting professional results in less time. But that doesn’t mean it’s hard to use; it’s incredibly easy to use thanks to its automated features. With it you can make larger designs, such as sublimation, HTV or infusible ink projects, find some awesome designs for those projects HERE!
It is for anyone who wants to make more in less time while delivering professional-level results, because of the automation and features. The Cricut AutoPress is actually on the lower end of the price scale when looking for heat presses. Certainly, in terms of what the AutoPress can do, it is an investment of 999,99 dollars worth making If you have a business and need to speed up the production process.
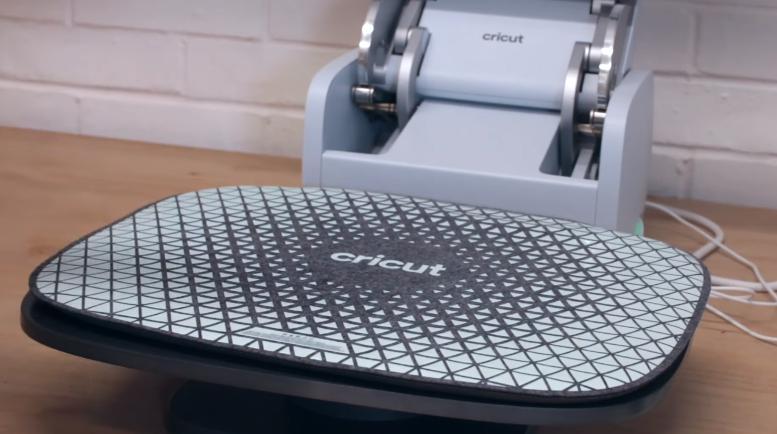
It is recommended to purchase additional pressing mats because it will speed up the process
First there is the review of the Cricut AutoPress features, and then, finally, you will have the most common questions and answers to clarify some doubts.
General features
- The surface area of the hot plate is 15 inches by 12 inches.
- Material to be used can be up to 2 inches thick.
- Heats to a maximum temperature of 400 Fahrenheit and 600 seconds/10 minutes.
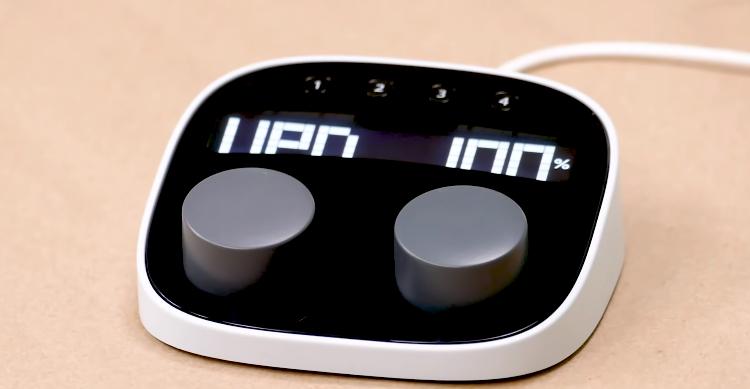
- It has a controller with 4 preset options to choose from, which can be changed.
- Requires approximately 22.5 inches of space to fit on any table.
- Takes about 8 minutes to heat up, depending on the temperature.
- Features advanced airflow for temperature management.
Unique features
- Needs effortless operation, only two-finger pressure to engage the motor.
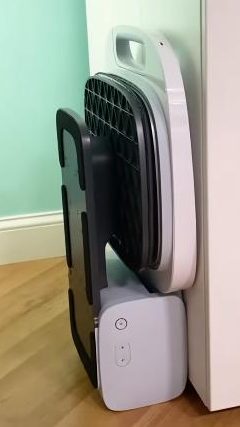
- Can be stored in vertical position when closed.
- Opens automatically when the heat-pressing process is complete.
Anti-burn features
- When the heat press is not in use it automatically shuts off, after 13 minutes has passed.
- Comes with a non-slip backing mat. It doesn’t slide on the plate and is removable.
- Uses a temperature-certified plastic, so all the plastic on the plate stays cool as well as the handle.
- Can be cooled while closed, without damage to the mat.
How to set up the Cricut AutoPress and start using it?
First, you will need access to a computer or laptop, a USB cord, and an Internet connection. Secondly, connect the power cord, and plug the control panel into the USB port in the computer. Do this before plugging the controller into the auto press otherwise, it will give an error. Once those cords are plugged in, start setting up.
After that, open either the website Cricut.com/setup or Cricut design space. To set up the AutoPress in Cricut design space first, click on the three lines in the top left corner, and click on the new product setup. Then click on the heat press, at that point the design space will walk you through the process, but here is the process described so that you know what is going to happen in the controller interface.
Once it recognizes that the driver is plugges in, accept the terms of use. You will see the driver countdown, once it is updated it means the process is finished. Remove the USB from the computer and connect it to the heat press. The machine has a power button, a lock button and an unlock button, so if you turn the machine on, but it is in the locked position, as a result it will not heat up.
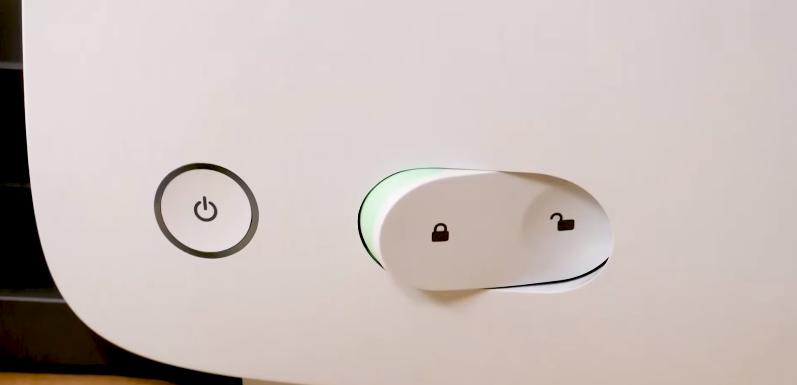
It is necessary to unlock it and have it open for the AutoPress to heat up, for that use the unlock button, which is between the power button. Be careful when doing this because the AutoPress will open automatically. While doing that you will hear the motor start to run, it does have a blower inside, it’s fine. So finally to close it, lower the lid and lock it with the lock button, and then it will stay closed.
How does the Cricut AutoPress actually press?
The Cricut AutoPress will apply pressure based on the base of the material, the heat needed, and the thickness. To press any surface just select the setting of temperature and time, close the plate, and after that press a little, you may hear a motor engage.
But for example, if you want to do a preheating you don’t have to wait for the heat press to open with the settings, you just have to open it manually with the handle. Applying a little upward force with just two fingers, then it will open fully automatically.
So for the automatic press to work you need to set the temperature and time. Above all, it is important to know that the AutoPress does not work with the new Cricut heat application, so you will need to set it manually, but it comes with access to the Cricut heat guide, which has recommended settings, using them it is possible to set it accordingly, find it at cricut.com/heatguide.
Temperature presets & how to change them
The bottom number at the top of the controller are the presets, these are preset of the most commonly used materials.
- Sport flex with polyester- 315 degrees for 25 seconds
- Iron-on with cotton- 315 degrees for 30 seconds
- glitter iron-on with cotton- 330 degreesfor 25 seconds
- infusible ink with polyester- 385 degrees for 30 seconds
It is possible to change those presets to others you use more often. Just adjust the controller up and down and hold down the button you modify until it beeps. If you change the preset and want to return to the factory settings, just put a paperclip in the hole in the back of the controller to reset it.
Hope this Cricut AutoPress review guide with questions and answers works to help keep you in touch with this new technology. This is truly an amazing machine for those who need to speed up production to make the bussines easier to manage.
