Cutting and Crafting
DIY cord keeper with Cricut
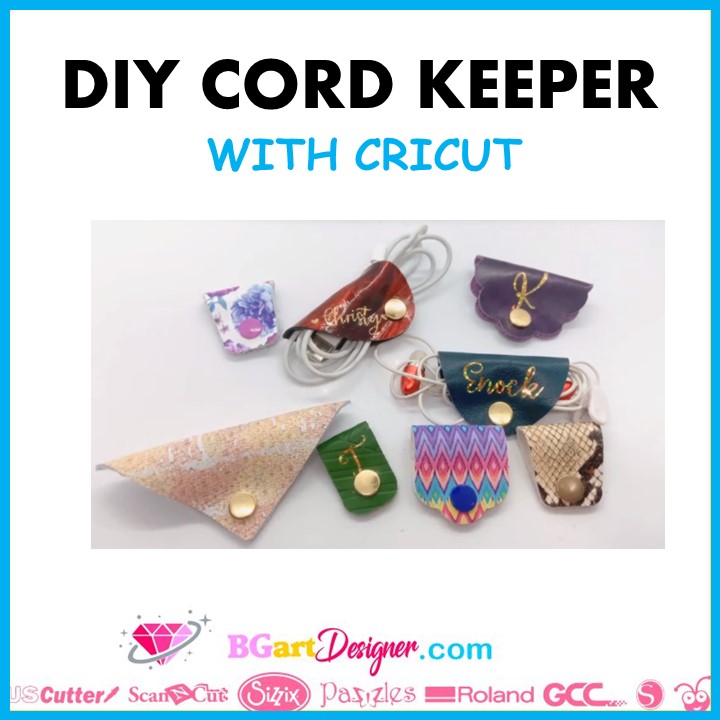
Make a cord keeper using a Cricut machine to hold headphones, charger or other cables completely in place, organized, and away from getting tangled. Get some awesome and creative leather cord holders HERE.
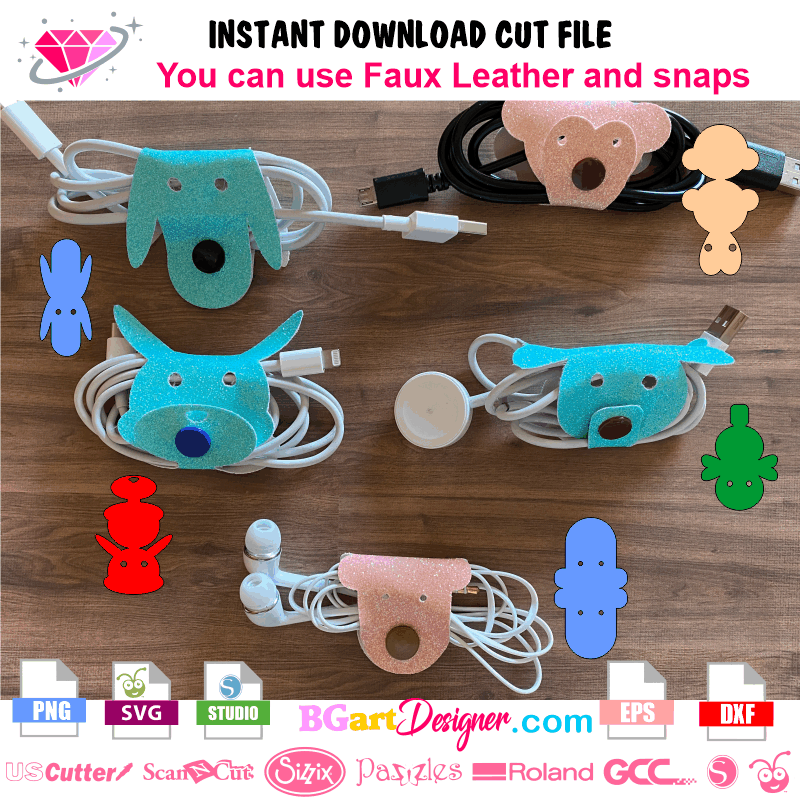
Supplies needed
- Faux leather
- Snap leather fastener kit
- Foil iron-on Vinyl
- Cutting machine
Firstly, open the file in Cricut design space. Click on make it and set the material to “genuine leather”, it will work fine. Change the pressure to “more”. It is important to use a sticky mat and a deep cutting blade. If the leather has two different sides, it is recommended to put the one that sticks better face down to the mat, the smooth side.
In addition, to personalize the cord keepers you can also add a name or a word. Type it in the font of your choice, size it, and finally cut it out in foil iron-on vinyl. To stick it on the leather you have to use an easy press and set it at 255 degrees for 30 seconds.
Finally, install the metal snap buttons, get the snap leather fastener kit.
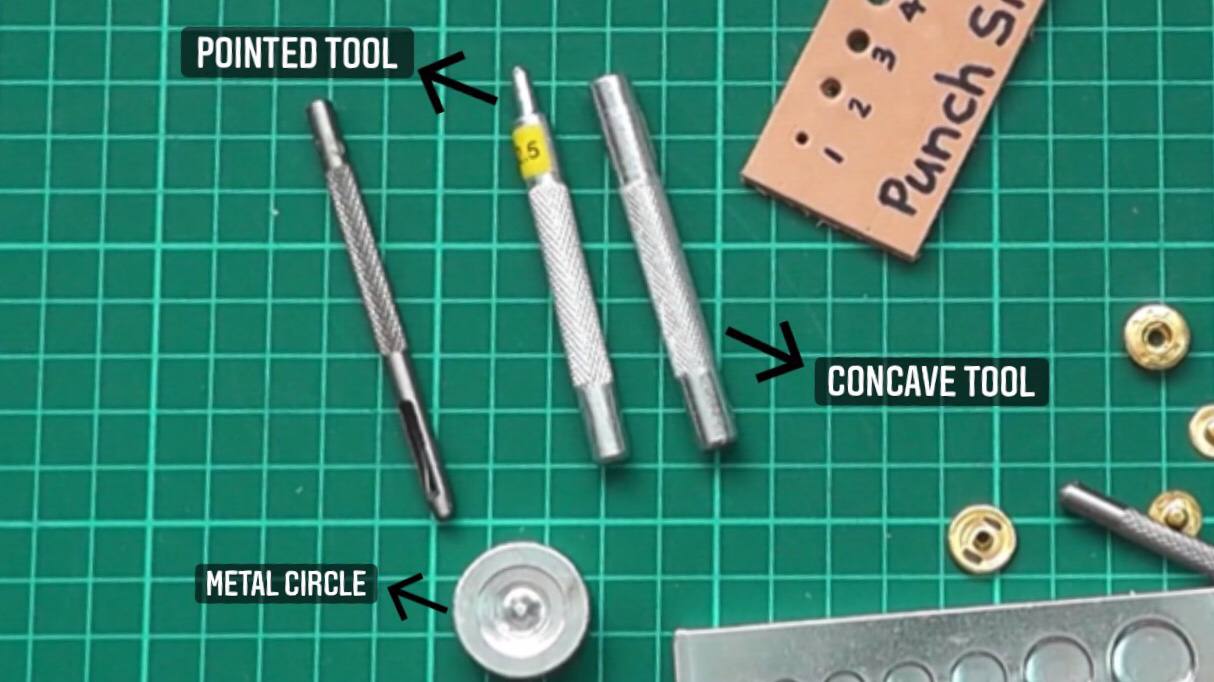
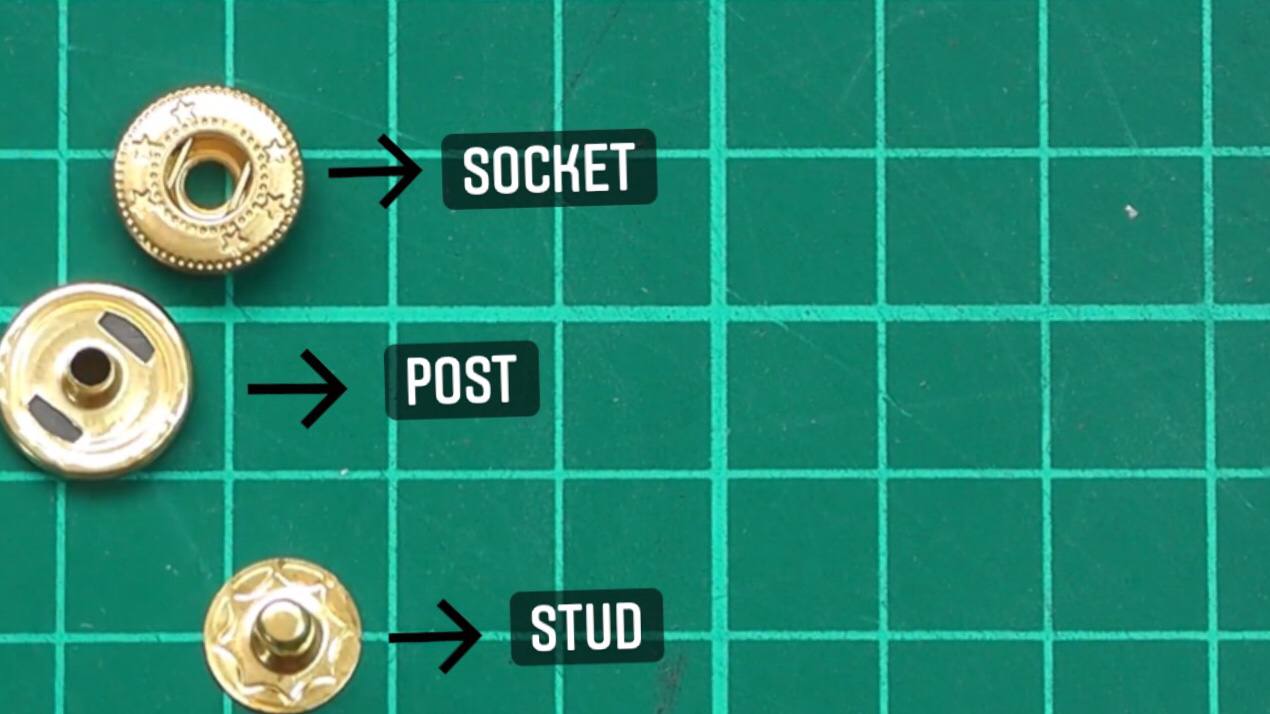
Insert the post first, the one with the little tube, put it inside the hole, then place the socket on the other side of the leather, the one with the little hole. Put it inside the tube that stands out. Next, take the pointed tool and place the leather on the smooth part of the metal circle, and hit it with a hammer.
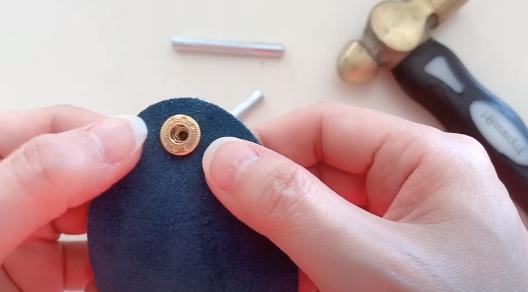
After that, in the other hole insert another post, the little tube should be between the two leather layers. Then insert the stud, the small piece that has a kind of spike to fit it. Take the concave tool, and turn the metal circle, facing up the side that has a hole in it. Hit the concave tool with a hammer
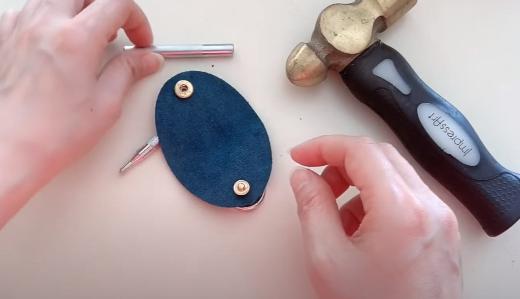
Finally the cord keeper made with a Cricut will be ready to use! Let me know your commnets below!
