Cutting and Crafting
Acrylic calendar with Cricut tutorial
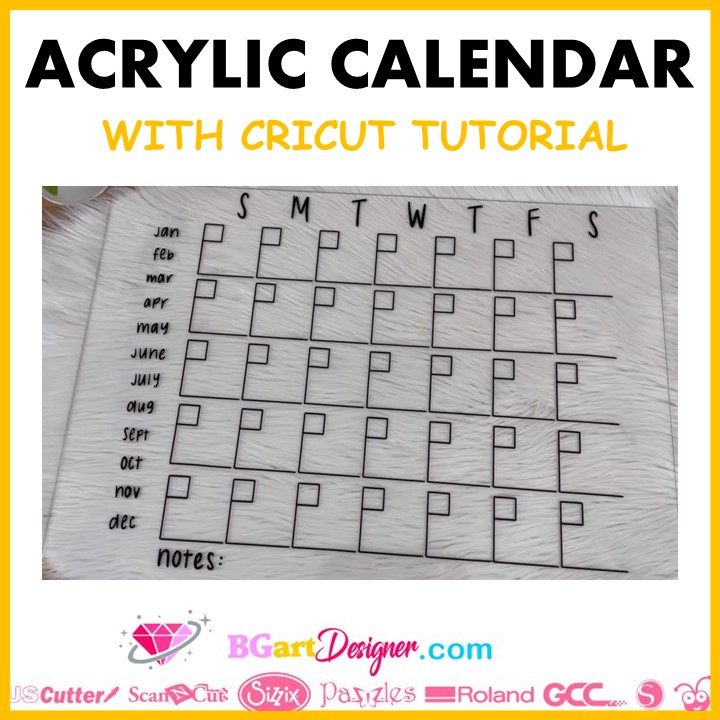
Acrylic calendar with Cricut tutorial, to keep things organized and accomplish all the goals for this year. This is a wonderful project to write down everything you have to do. Acrylic is very easy to write on and erase, so it’s the perfect place to make a calendar. Click HERE to read more impressive tutorials!
Suplies needed
Design process for the acrylic calendar with cricut tutorial
For this Acrylic calendar with Cricut tutorial, first of all, go to Cricut design space and there are two options, create your own calendar blank or download a free SVG for this project HERE that you can edit to suit any taste.
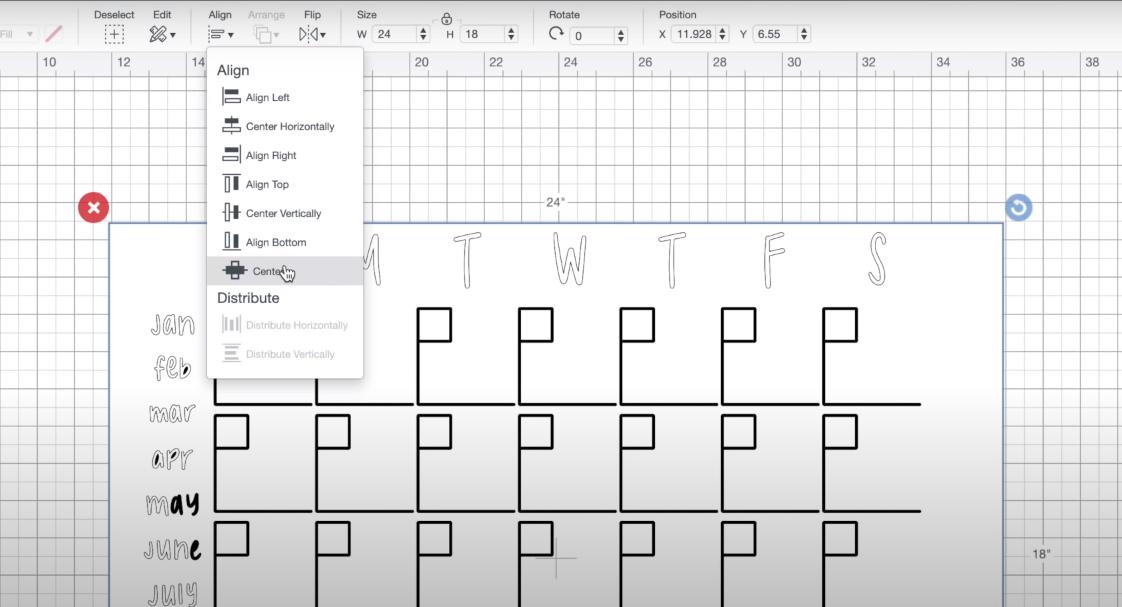
Insert a square and make it the size of the acrylic and change its color to white; Go to the size and hit the unlock box to adjust it. Put in there the exact size of the acrylic; this one is 24 inches by 18 inches.
Right-click on the screen on the square and click on send to back. and slide the calendar design and fit it inside the rectangle template as big as you want; Then highlight both pieces to select them at the same time and go to the alignment settings and click on center. Finally, just hide the rectangle.
The Cricut Joy works well for this project because you can cut up to 20 inches with it; If you don’t have a Cricut Joy but instead have an explore air 2 maker or other; with these machines the largest you can cut is 11.5 inches and it is better to cut the calendar in sections.
To do this you can attach different sections of the design no longer than 11.5 inches and finally align them all on the acrylic.
Tips to cut with a Cricut machine
To cut on the Cricut Joy, first, ungroup the calendar piece, now attach only the days of the week; then in a separate group attach the months, and finally attach each section of the week, for the last week include the “notes” that are at the bottom.
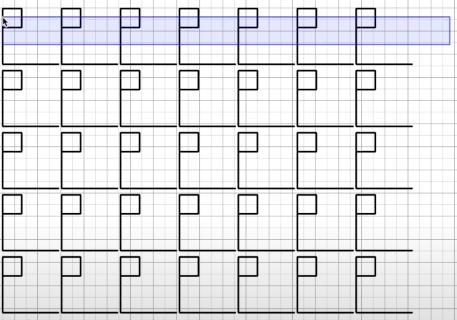
You can choose the color of vinyl you want; but in this case, it will be black. make sure to select the correct Cricut machine in the settings. and select make it.
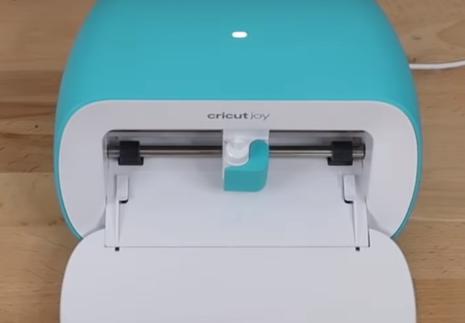
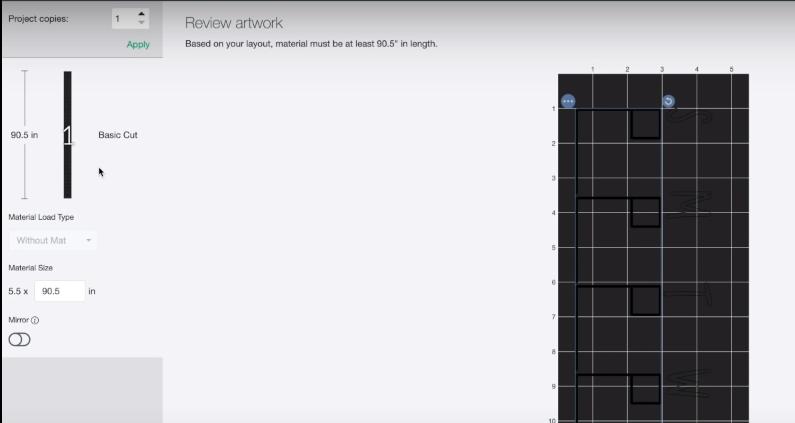
One cool thing about the Cricut Joy is the length you can cut with it
On the left side, it shows you how big the vinyl needs to be to cut all the pieces. if you scroll down it will show all the pieces organized to be cut at once.
Be sure to select the options “without a mat” and “mirrors off”, since we are using adhesive vinyl. Now browse through all the material and select the one to use, in this case, it is the “smart vinyl permanent”. to conclude hit done.
Cutting and assembling the acrylic calendar
Lastly, load the material on the mat, now that it is loaded in the machine, hit go. The Cricut Joy will start cutting this long piece. Make sure there is room behind the Cricut for it to come out.
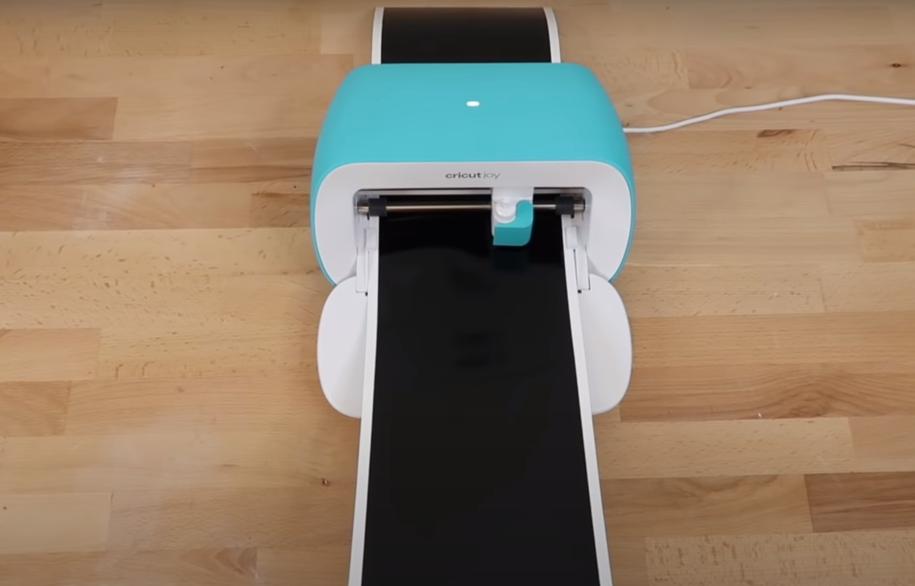
This cricut joy will automatically unload the mat, then find the end up to where the machine cut and cut the vinyl. After that cut each section exactly as you group them in the cricut design space; The days of the week, months, and weeks separately.
Count each day to make sure there are seven in a row before cutting, you can also cut those vinyl blanks that don’t have any design on them so you don’t waste them. Now weed everything; It’s a good idea to use a nail polish holder to weed the vinyl.
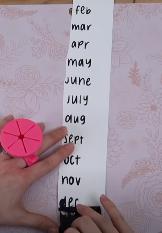
Before adding the design to the acrylic; make sure to remove the protective film on both sides and spray some isopropyl alcohol on the surface of it to make the vinyl adhere better.
To make sure everything is perfectly aligned take a ruler, there is a Cricut acrylic ruler that is perfect for this kind of measurements. Once you have the measurements aligned; take a marker and make marks where you want the vinyl to go.
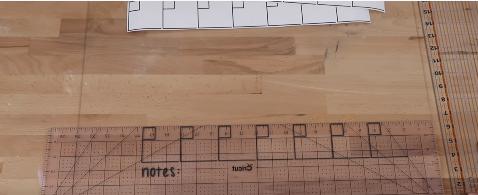
Now take the transfer tape and put it over the vinyl. Finally, align the bottom lines with the marks and press on them. Then remove the transfer paper; Repeat the process until you finally add each piece of the design. You can remove the marks with isopropyl alcohol or rubbing alcohol.
This acrylic calendar is so functional and lovely. Let me know your feedback on this acrylic calendar with Cricut tutorial below!

